The Main screen
The primary element of the Main screen is the cue list. The images demonstrate use of the "Smart Style" and "Air 2" skins. 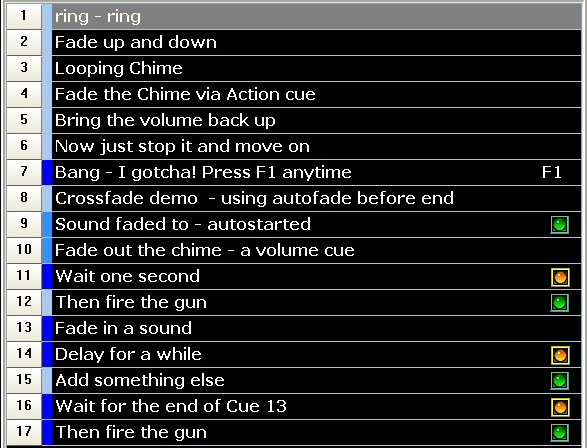
Here a description of every cue is displayed in a scrollable list. Cues may be selected via the mouse or the up/down arrow keys. The current cue will be highlighted. The right side of each cue will show the special characteristics of Auto-Play (green dot), Delay (yellow dot), Advance at Start (blue dot), or F-key if assigned. If a cue is active and playing, the running time will display between the description and the dots.
Right click on the clock and the production timer menu will appear:
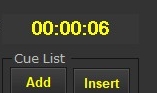
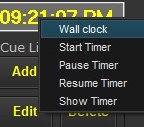 You can select to start the timer, pause and resume it, or show either the timer or the clock. When running and displayed, it takes the place of the clock.
 The timer can also be started and stopped as a special DMX cue. Details are on the DMX Control topic
Cue List frame
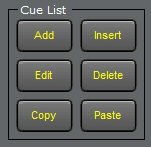 holds the usual suspects of Add, Insert, Edit, and Delete. Add goes to the end of the current list, Insert goes above the existing selected cue. Edit allows changes to the selected cue and Delete deletes. Edit may also be invoked by right clicking the cue line. Copy and Paste make it easy to duplicate a cue during the build process. The caption color will be the same as the clock's.
The large play button will start the cue, as will double-clicking the cue list line. Pressing the Enter key or Space bar, as selected from the Options menu, will also start the selected cue line.
 Pause will stop the currently highlighted and playing sound and Resume will start it where it left off. All of these individual control buttons will only affect the highlighted/selected cue line. If an Advance has moved the line from what is playing, then they have no effect.
 Stop will stop the currently selected and playing cue.
 Rewind puts you back to the start of the cue, including resetting the initial fade timing.
 The Fade button will fade out the playing cue per the value in the cue's "Fade at End" box.
 Fade All and Stop All will work across anything playing. The Fade All duration is set in the Menu Option "Set Cue Add Defaults".
The slide controls 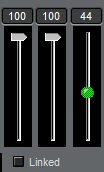 will set the volume level and can be either linked together or moved separately to slide the sound from side to side. The green one is the Master volume. It is only effective for the sound card Windows has registered. If you have installed an additional card and the cue is set to use that card, the Master volume will have no effect. When the ALT key is pressed along with an up or down arrow, the volume will be changed in that direction.
The Pan slide control  will also move the sound from side to side.
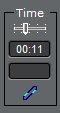 The Time display counts up or down (Options menu) as the cue plays. Hovering the mouse over the slider icon in the time display will open the position selection slider. You can then change the current playing position in the file. This works for both sound and video playback. Moving the mouse out will close it and resume play at that time.
 In the lower right corner, the green dot is a CPU usage monitor. Hovering the mouse over it will give the % usage. It will turn yellow at 51%, light red at 71%, and red at 86%. If light red or red, you may experience stuttering on playback. You would want to check what other than Cue Player is running on the computer.