Inspection Tool
Inspection Tool


The Inspection tool is used to observe the program's DMX output, adjust any problems with LED fixture settings, and set the Art-Net IP address.
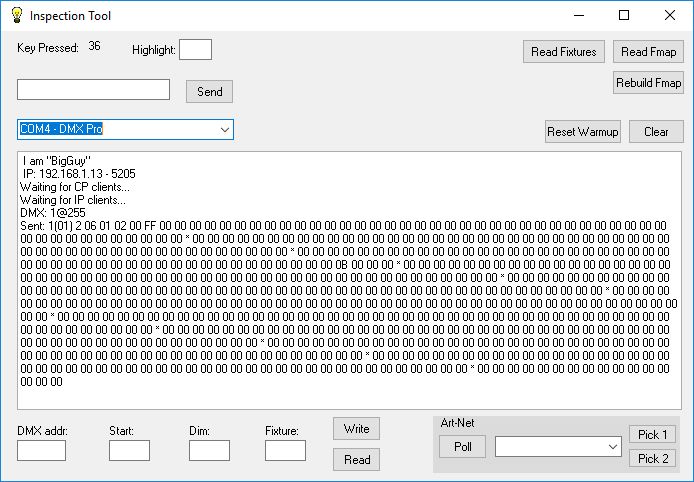
When the tool wiondow is open and a cue is run, the DMX output levels are displayed:
The Read Fixtures button will show a list of the fixture library with the fixture number for each name:
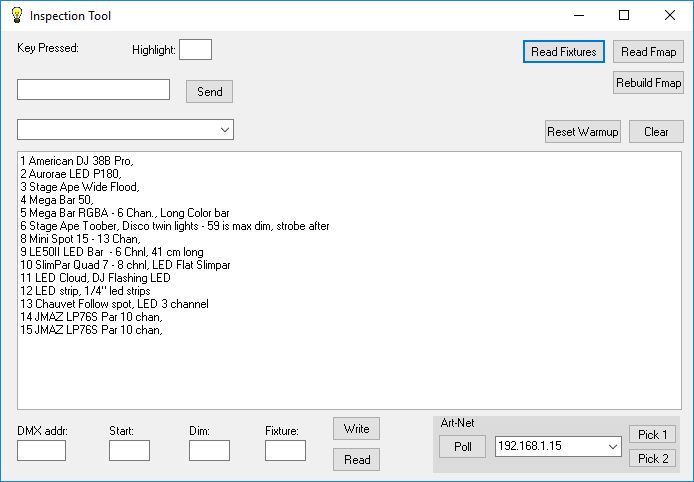
The numbers identify which fixture may be assigned to a DMX channel.
The addresses and fixture numbers are stored in a set of tables called the 'Fmap'. There are three sections to the map and they can be viewed by the Read Fmap button:

and scrolling down:
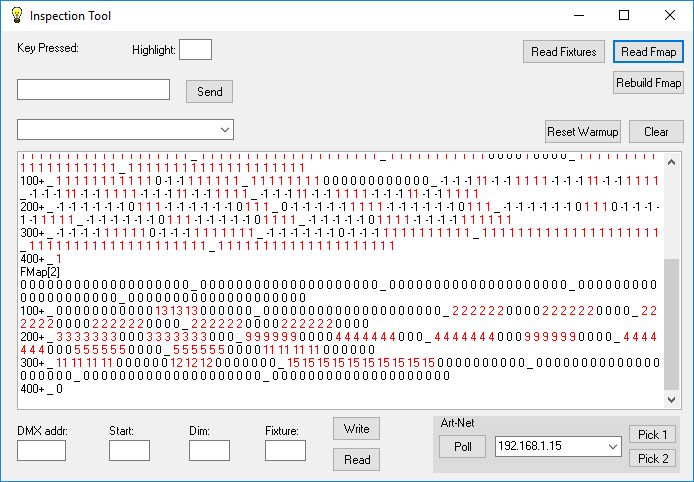
Fmap(0) stores the starting address and number of channels for each fixture in use. For example, we can see that at address 140 there is a 6 channel fixture in place. The number 2000 is a dummy number for scroller channels.
Fmap(1) has the minimum intensity level for each address. In this case we have a minimum level of 1 for all conventional instruments. A -1 indicates a color, strobe, or macro channel and won't be changed by a Blackout command.
Fmap(3) contains the fixture number installed at that address. So for our example, there is an Aurorae P180 set to address 140.
Should it come about that through installs, removals, rehangs, or whatever these relationships get out of sync and are not accurate, then the fields and buttons in the lower left can be used to rewrite them. If we were to put 140 in the DMX addr. field and click Read, then Start would show 140, Dim would show -1, and Fixture would show 2. Editing any of the fields and clicking Write will change the Fmap acordingly.
To start from a clean Fmap, meaning you will need to enter the current addresses of all installed fixtures with the fixture tool, click 'Rebuild Fmap'.
Art-Net
The setup for Art-Net requires that the IP address of the interface(s) be known to CP Lighting. The Poll button will send out the commands over the network that cause interface devices to respond back with their name and address. That will populate the drop-down box.
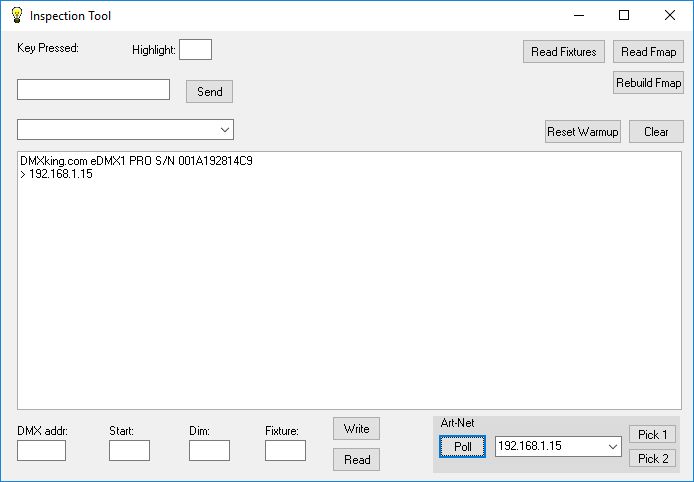
Clicking Pick 1 will set the displayed address as the one to use for Universe 1. Clicking Pick 2 does the same for Universe 2. They do not have to be the same device. Back on the Options Menu, clicking either of the Art-Net options will bring up this screen.