Control
Control Cues


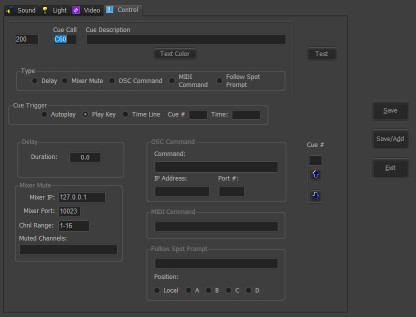
Selecting the Control tab after + on the home screen will display the above screen. The Save, Save/Add, and Exit buttons are common to all of the 4 tabs. Save will either add a new cue to the list or store any changes to an existing cue. Save/Add does the same, but returns to this screen instead of the main window. Exit returns to the main window.
 These are the first 3 columns of the cue list. That being the cue sequence number, the stage manager cue call, and the cue description. As with all cues, the color of the cue description in the list can be set.
 There are five types of control cues. Depending on which is selected here, the corresponding detail frame will be enabled below.

The trigger for playing or running the cue can be either when the cue is selected, the Play key, as set from the Options menu, the time position of an already running cue, or a time of day. The number of a playing cue goes into the Cue # field and the time position, in tenths of a second, goes into Time field. If the Cue # is 0 and the Time is entered as hh:mm, the cue will play at that time. Hours greater than 12 are afternoon and evening, under 12 for morning. For the cue you are editing to be triggered this way in use, it must be the current selected cue in the cue list.
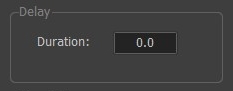 A Delay control cue simply pauses advancement down the cue list for the entered time. It is always treated as an autoplay cue. Use this, for example, between a video cue of a picture and a fade cue set to autoplay to display that picture for the delay time.
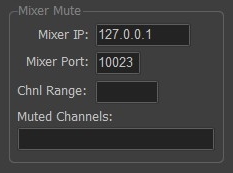 Designed for use with a Behringer X32 mixer, this control allows a cue to mute and unmute specific channels on the mixer. The range of channels controlled goes in the Range field. The individual channels to be muted in the Muted field. If not muted, channels are unmuted.
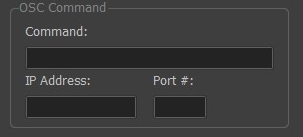 A general purpose send of any valid OSC command string to the address indicated. It could be fader levels to a mixer, control signals to an external dimmer desk, whatever. Multiple commands in one cue can be separated by a semi-colon. Receiving OSC commands is covered under "Connections".
 MIDI commands to be sent have the format "xn.xx.xx" with values per your end device. n is the small device number. Receiving MIDI commands is covered under "Connections".
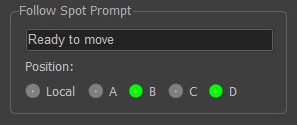 Although labeled for prompting a follow spot operator, prompts or messages can be sent to any of four users on the network to their device with a browser. The Local position brings up a simple video player that can be moved to an additional cabled monitor in the booth. The A,B,C,D positions are set up from the Prompt icon on the tool bar. Here we see that both positions B and D will get the message. To receive, the user has to open a browser on their phone or pad and set the url to the address of the computer running CP One - usually something like 192.168.0.xxx.
 The up and down arrows are used to move the cue being edited up or down in the cue list. A number can be entered directly and the current cue will move to that line.